Happy New Year! 2015 is finally here. I am super excited. This is the year I sit my final examinations and the year I graduate.
A brand new year to try out a whole bunch of new recipes, to improve my photography, to try new thing, to visit new places,read new books, to watch new movies, to make new friends.
To live life as fully as possible :)
2014 has been awesome but I'm ready to start afresh.
I spent a good part of last year perfecting this recipe. After about eight batches it's finally ready just in time for the new year.
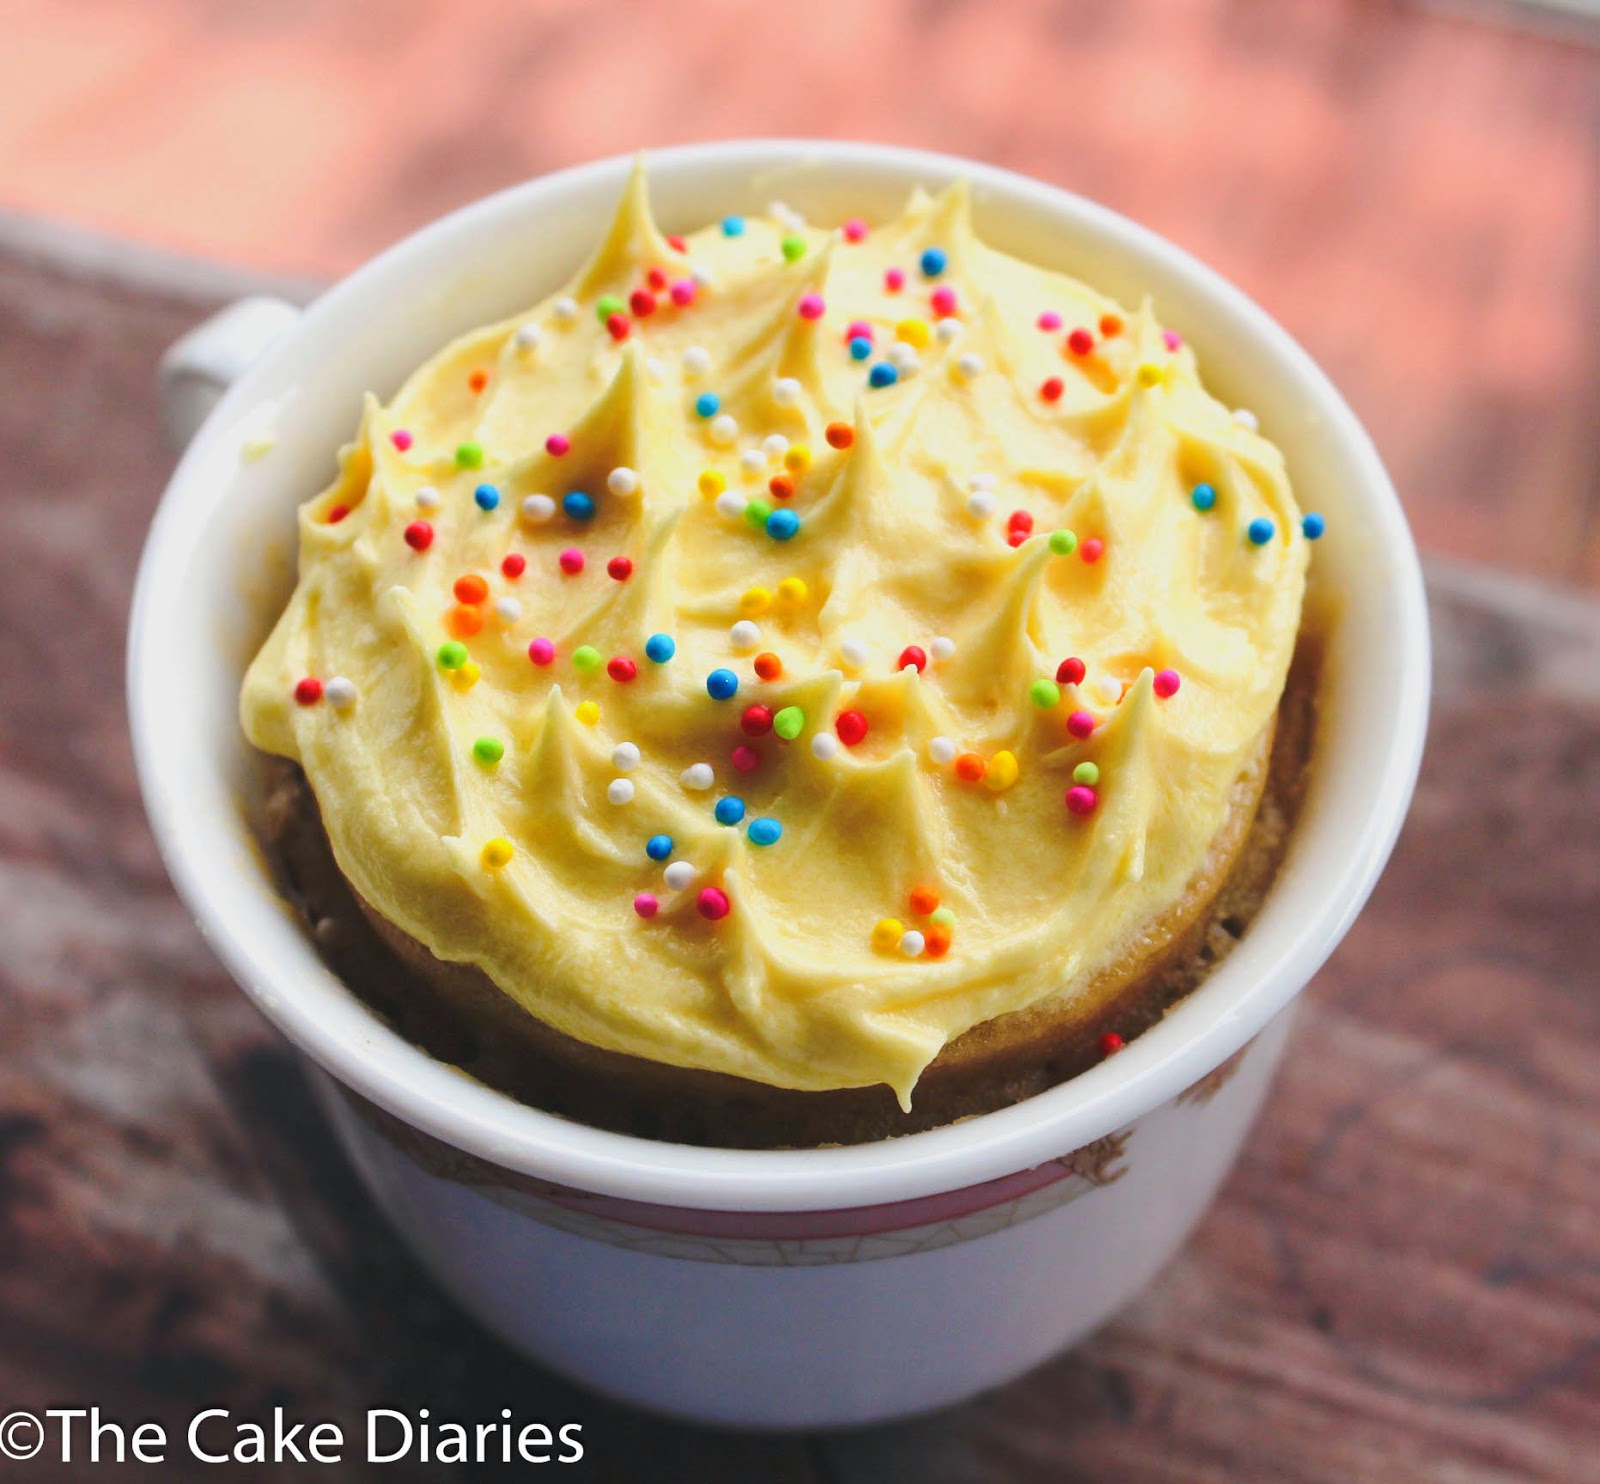
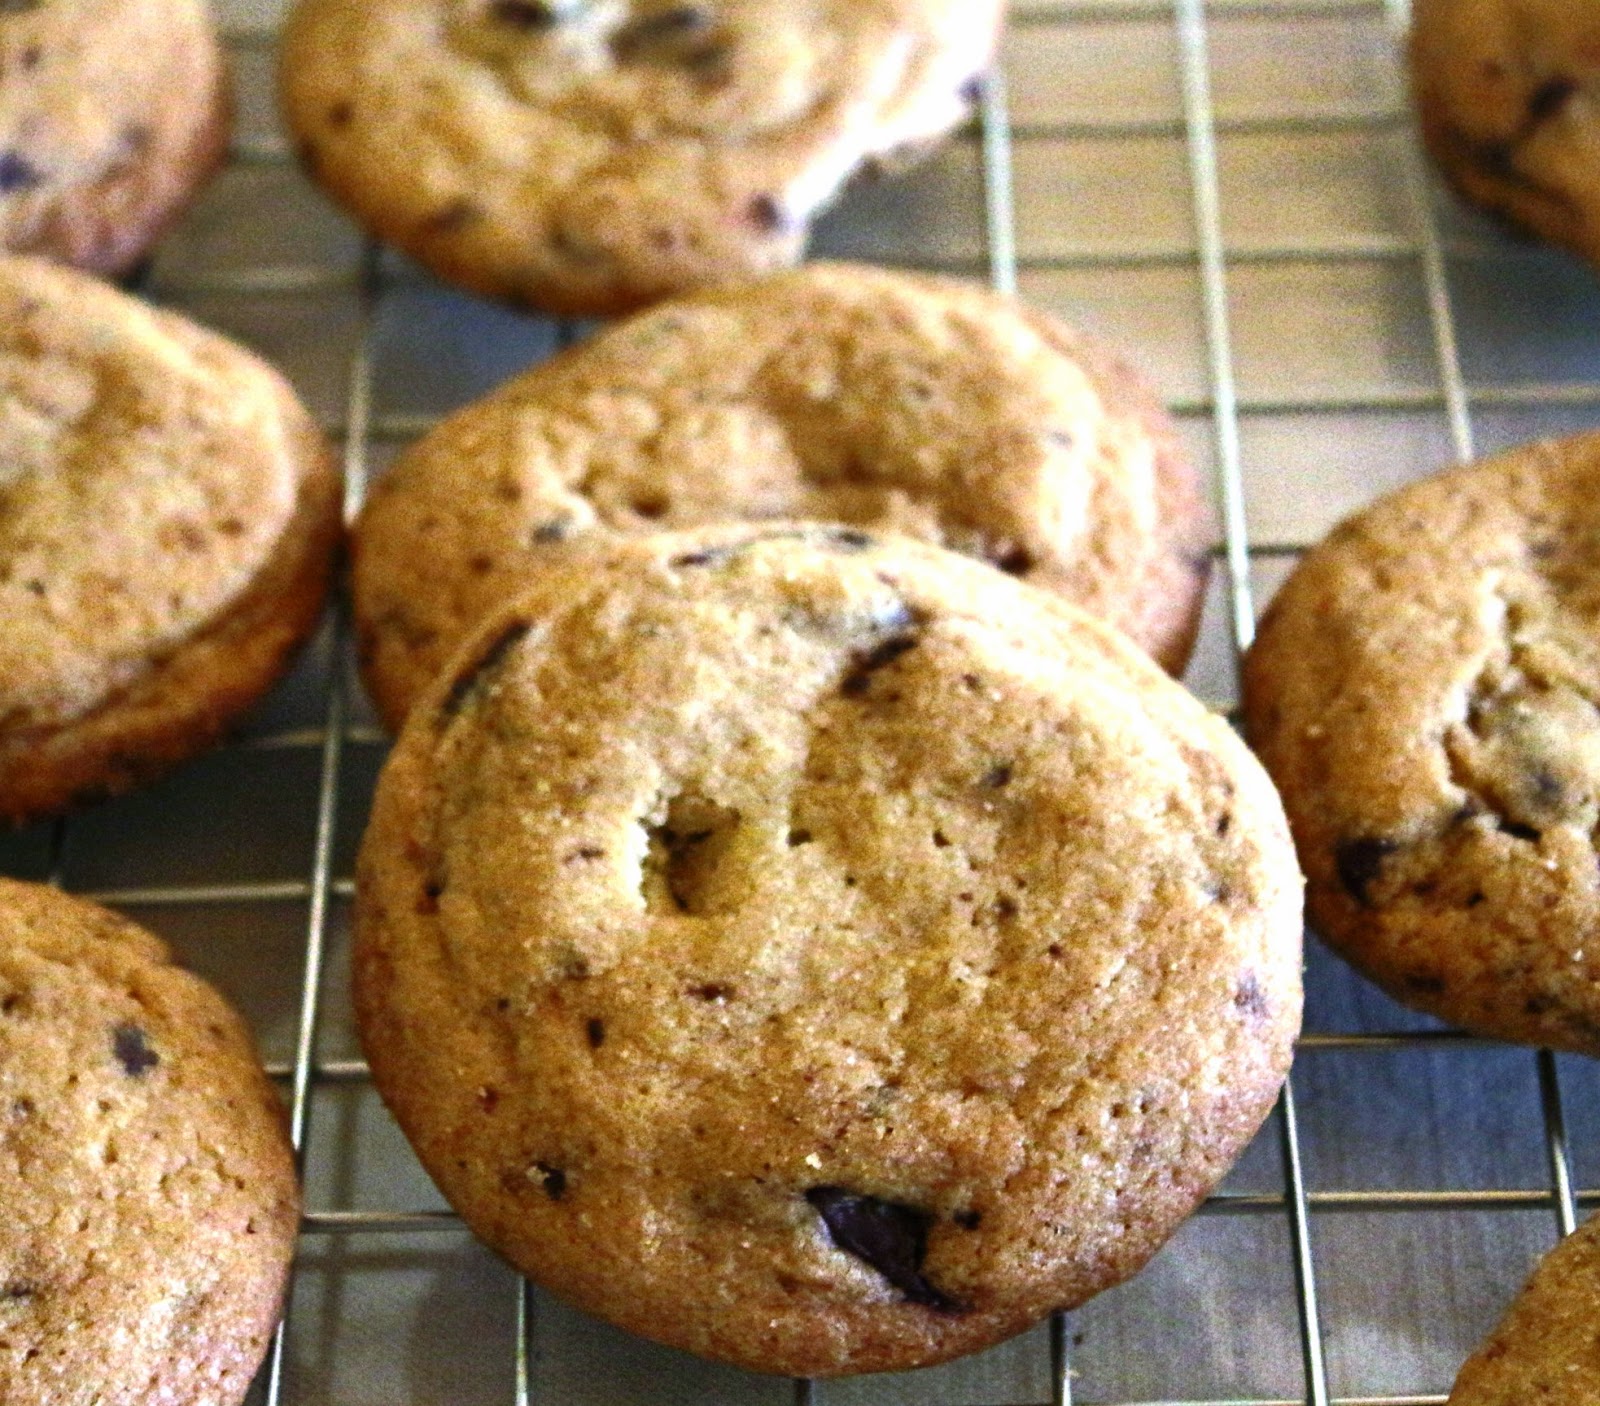
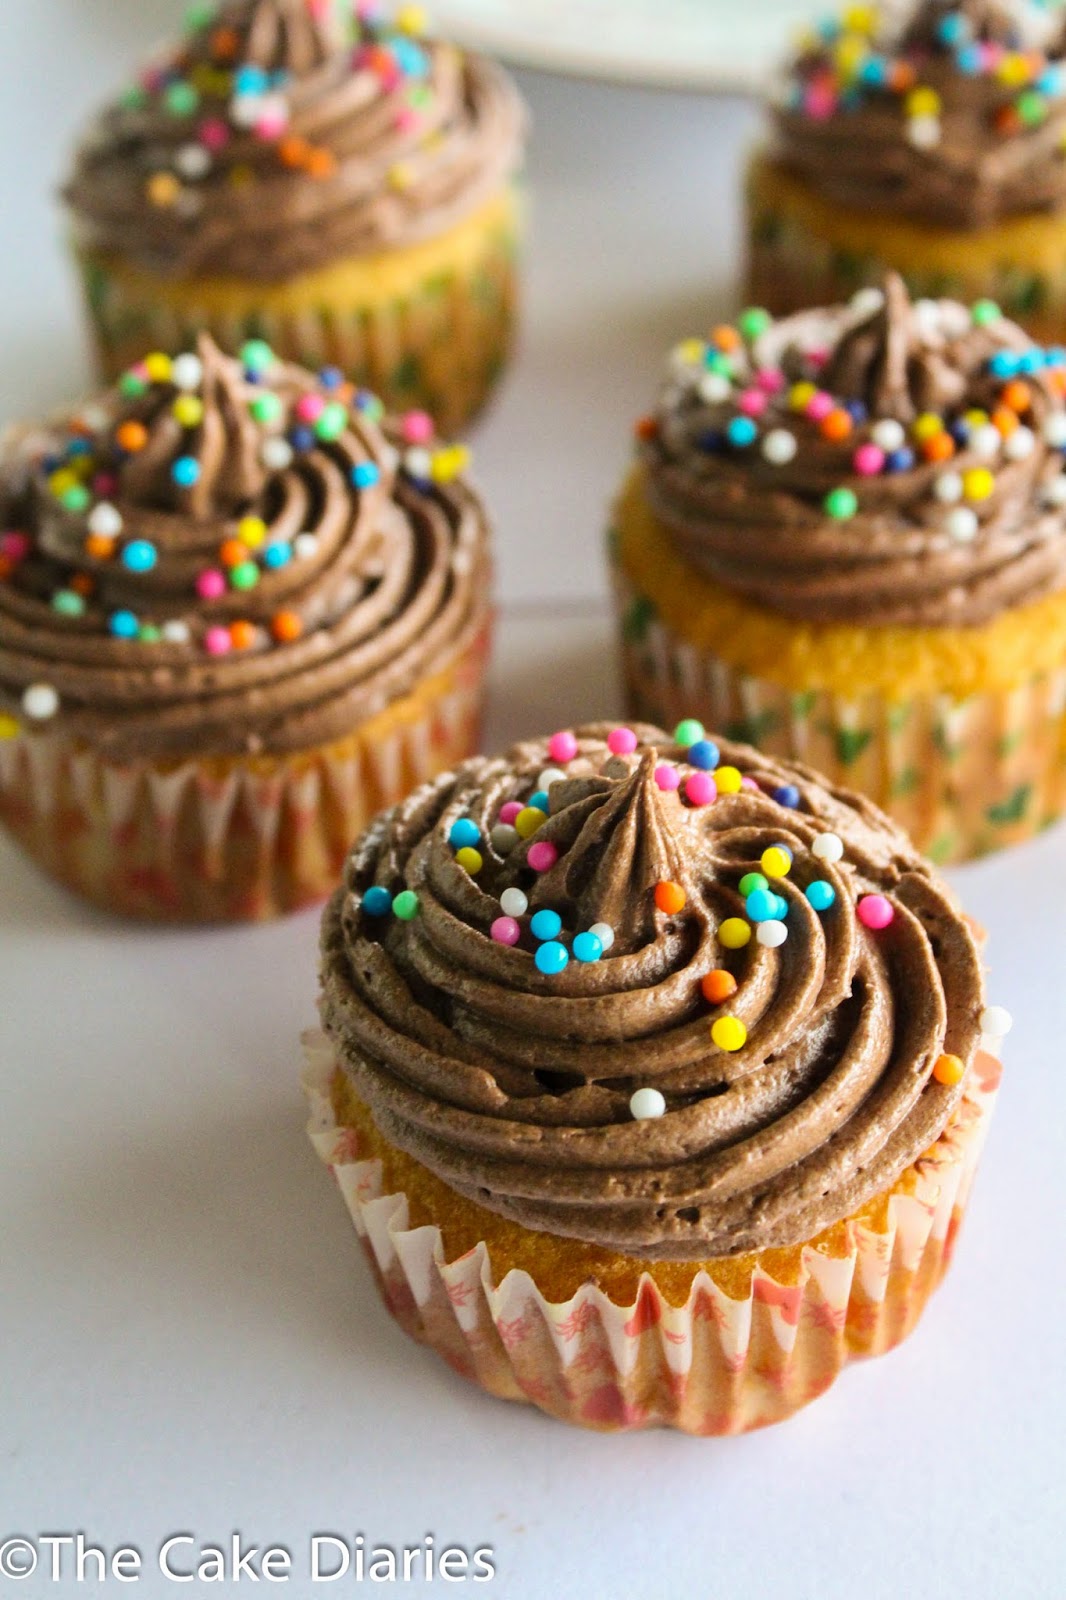
The cupcake is of course my Ultimate Vanilla Cupcake. It is full of buttery goodness and comes out perfect every time.
I chose to top it off with a chocolate buttercream. This buttercream is very chocolate-y but not overpowering. It took me a few tries to find the perfect balance. At first the chocolate flavour wasn't coming through enough. Adding more cocoa powder made it too intense. I realized it needed something to counteract the chocolate flavour and really make it shine. The salt and vanilla in the recipe do this but the star player is the coffee. It gives the chocolate some real competition but the chocolate wins simply because there is much more of it.
This icing is so good you don't even think that there is actually no real chocolate in it, only cocoa powder. It's perfect for me because, most of the time, I eat all the chocolate in the house before I can use it any recipe!
Enjoy :)
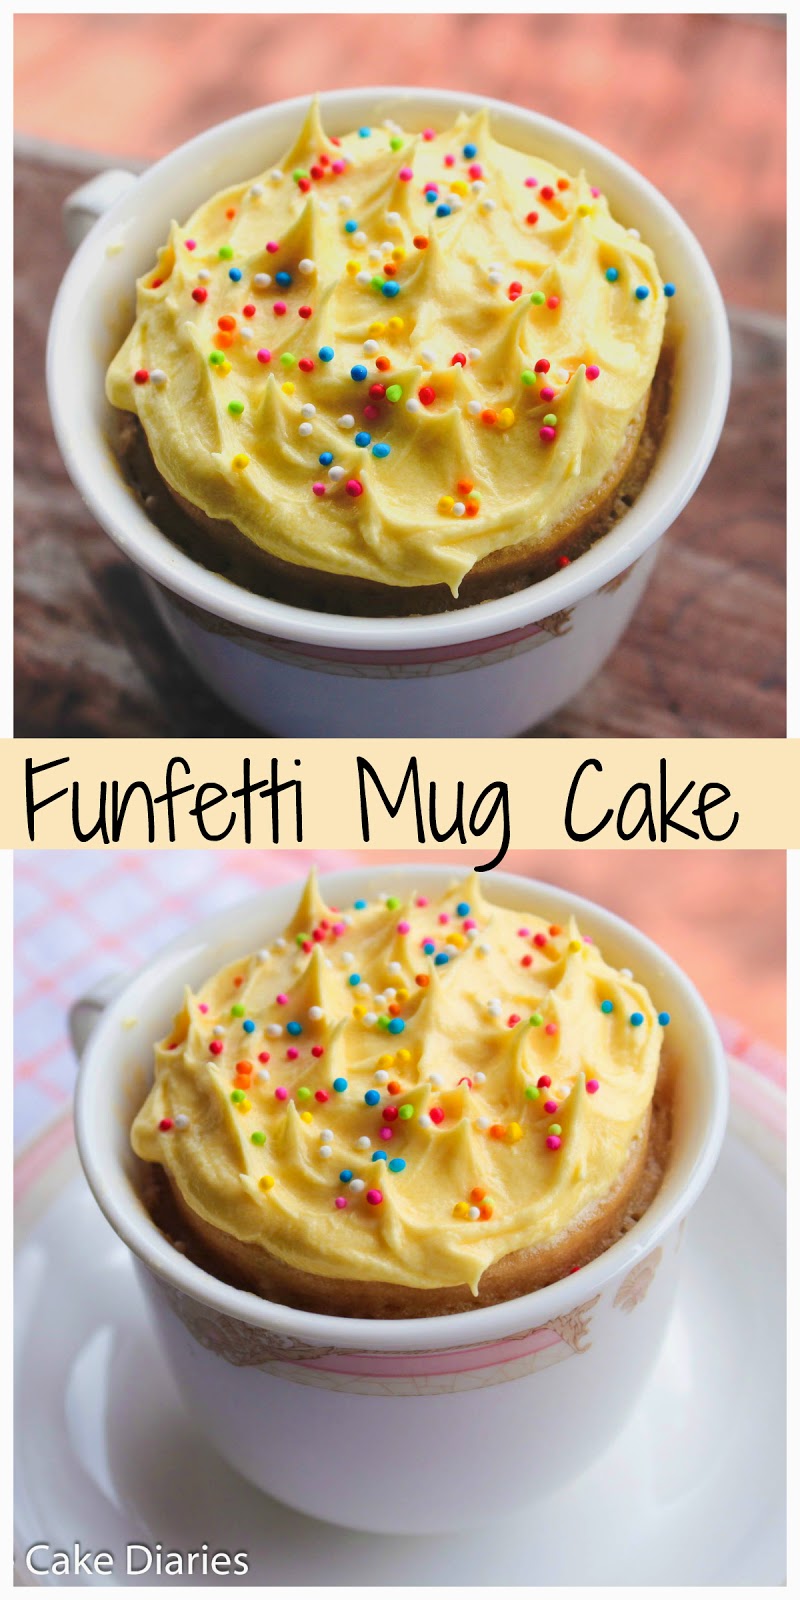
Classic Vanilla Cupcakes with Chocolate Buttercream
Makes 12
Ultimate Vanilla/Yellow Cupcakes
188g (1 1/2) cups all-purpose flour
1 tsp baking powder1/2 tsp baking soda
1/2 tsp salt
150g (3/4 cup) sugar
125 ml (1/2 cup) milk
1 tsp vanilla extract
113 g (1/2 cup, 4 oz) soft,unsalted butter
2 eggs
Preheat the oven to 180C/350F. Line a 12-cup muffin tin with cupcake liners.
Sift the flour, salt, baking powder and soda into a bowl and set aside.Separate the eggs and put the whites into a large bowl.
Cream the butter and sugar till really light and fluffy, for about 3-4 minutes with a stand mixer or a handheld electric mixer.
Add the eggs yolks,one at a time, beating well before each addition. Mix in the vanilla.
With the mixer on low speed, add half of the dry ingredients, followed by the milk and then the rest of the dry ingredients. Be careful not to over-mix or the cupcake won't be as light (trust me,I would know).
With a large whisk, beat the egg whites until they are foamy and holding soft peaks.
Divide the batter evenly among the prepared cups. It's about 1/4 cup of batter per cup.
Bake for 20-25 minutes until the tops of the cakes spring back when touched and a skewer inserted into the middle comes out clean.
Leave to cool for 5 mins in the tin before taking them out onto a wire rack to cool completely.
Chocolate Buttercream
230 grams/ 8 oz unsalted butter, softened
440 grams/ 3 1/2 cups/ icing sugar, sifted
45 grams/ 1/2 cup cocoa powder, sifted
1/2 teaspoon salt
2 teaspoons vanilla extract
1 1/2 tablespoons milk
1 1/2 tablespoons coffee (I used a teaspoon of instant coffee dissolved in some warm water)
Using a handheld or stand mixture on high, beat the butter until really light and pale, for 2 to 3 minutes. This will make sure the frosting is smooth and creamy. Turn the mixer to a low speed and slowly add the icing sugar and cocoa powder. Once they are incorporated add the salt,vanilla, milk
and coffee. Turn the mixer onto a high speed and beat for about a minute so that everything is well mixed and the frosting is very smooth.
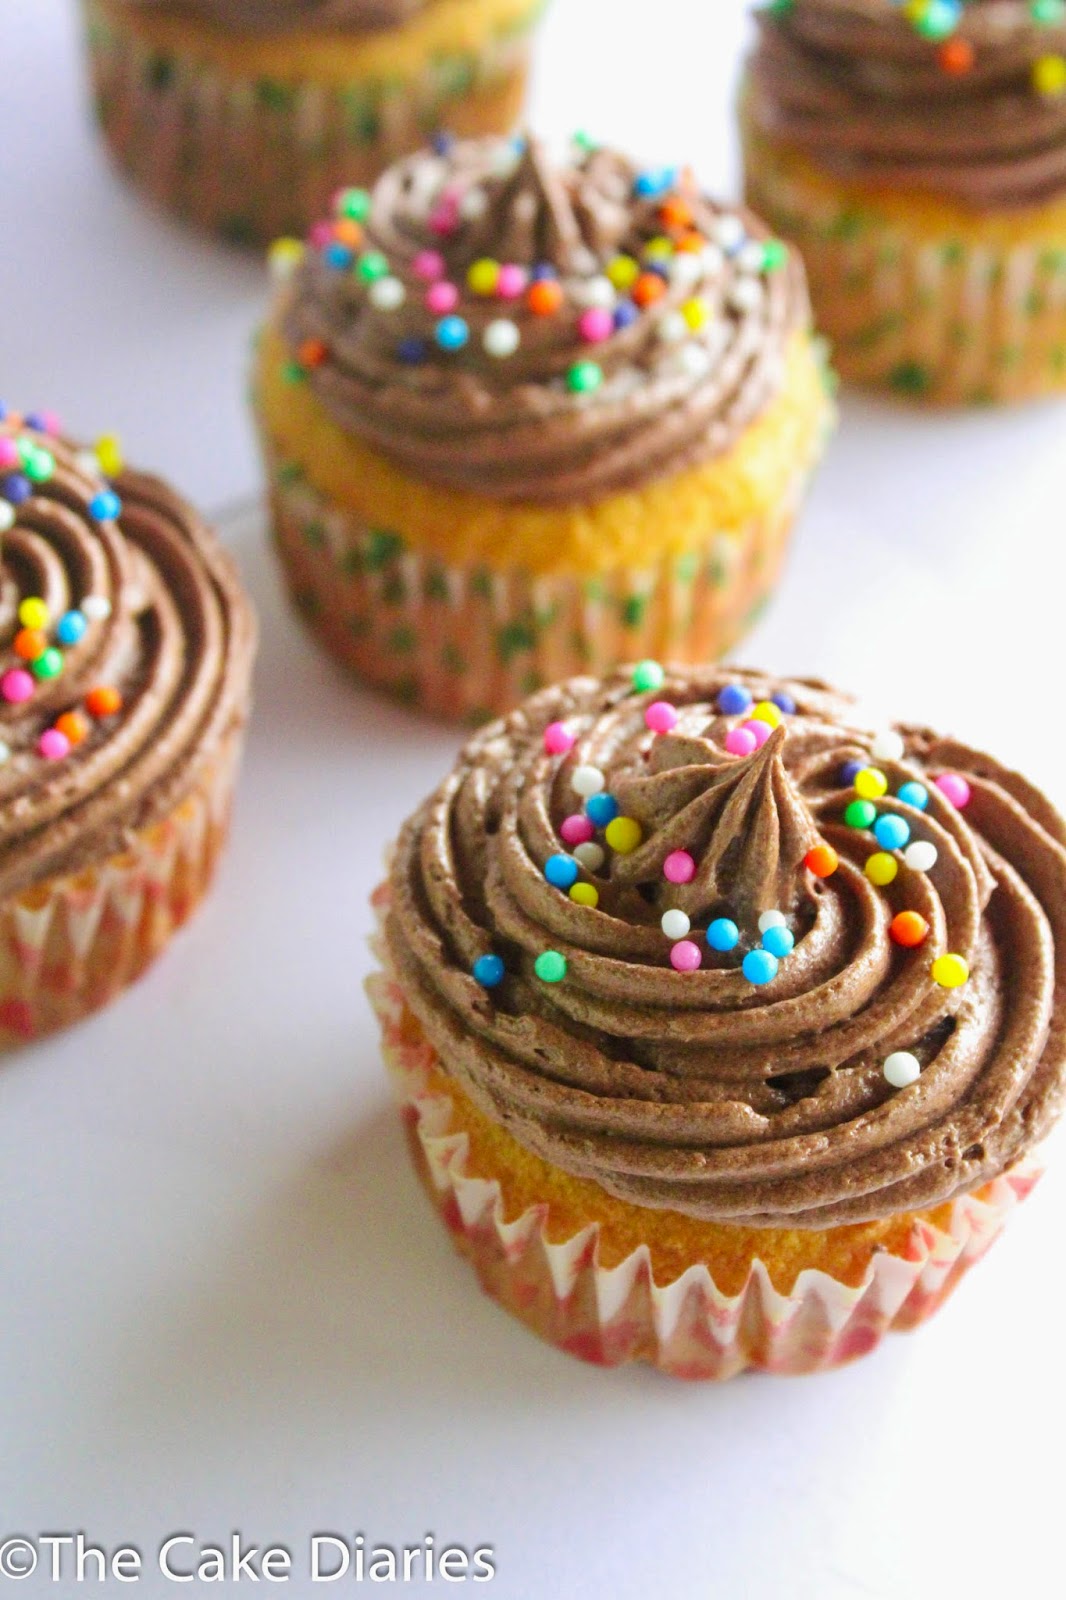
Pipe onto the cupcakes. (I used an open star nozzle.)
Notes on the recipe:
-The butter must be softened to room temperature. It should be slightly soft, still a little firm but not cold. It should not be over softened so that it's greasy. This will affect the consistency of the frosting.
-The coffee should be cold when added to the frosting. Using warm coffee will make the frosting greasy.
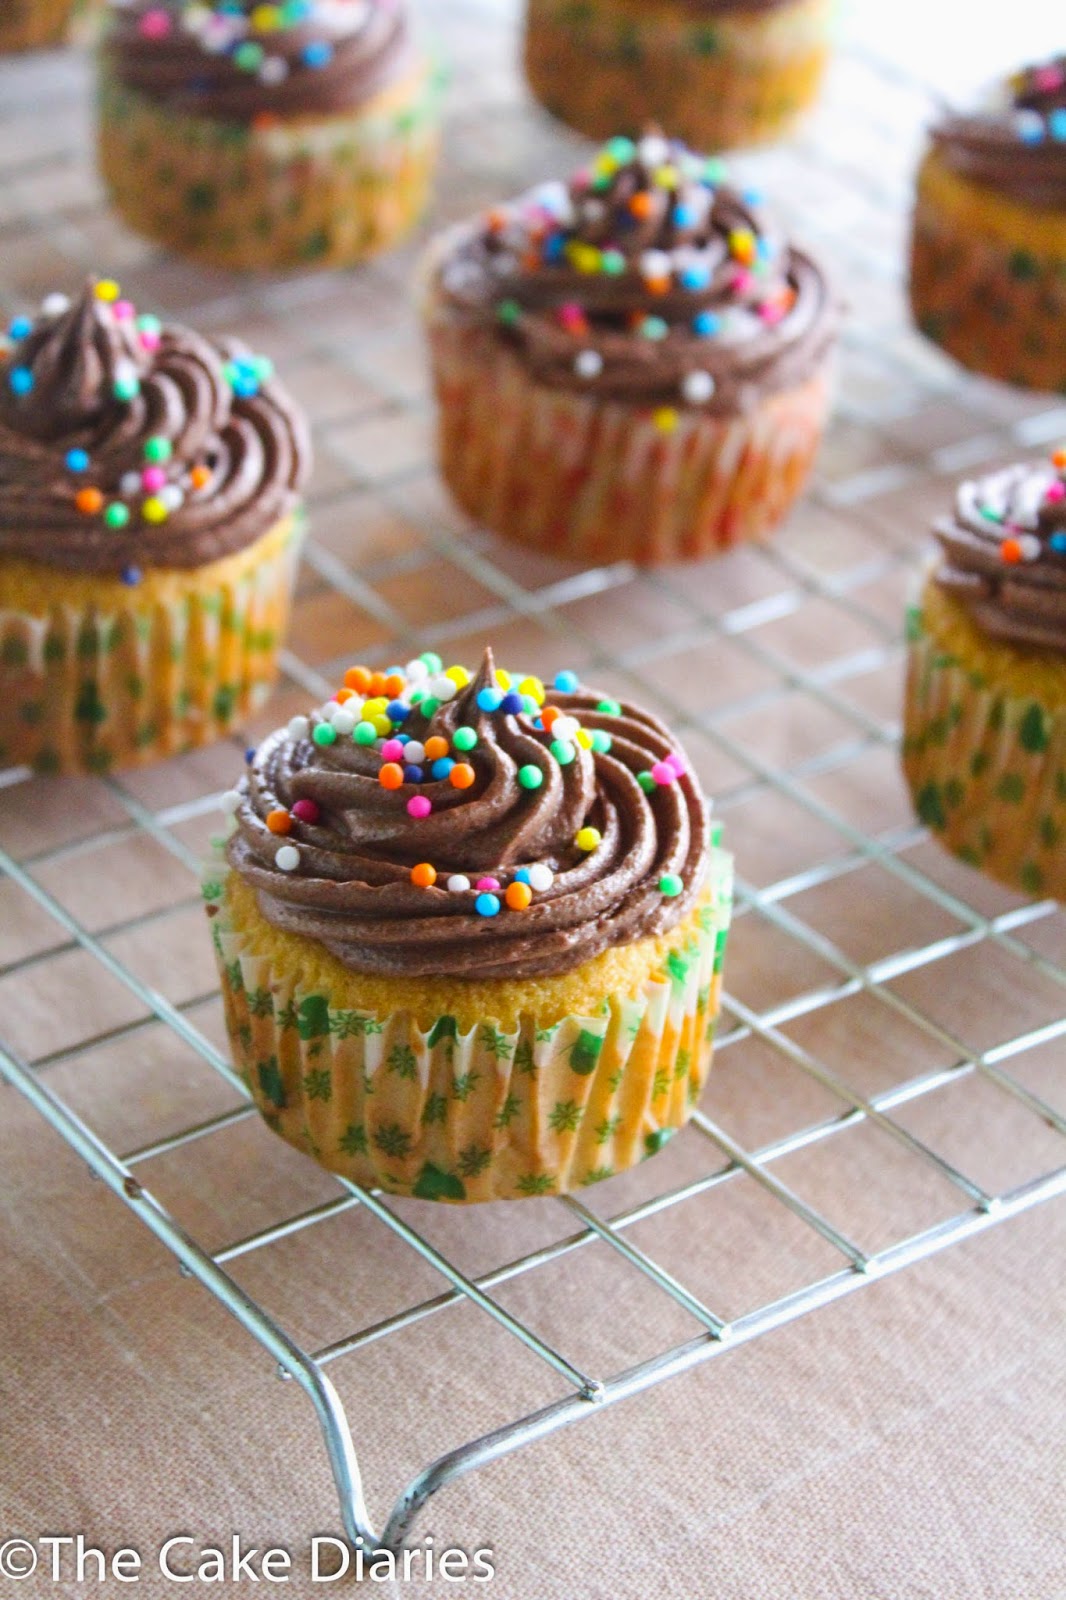
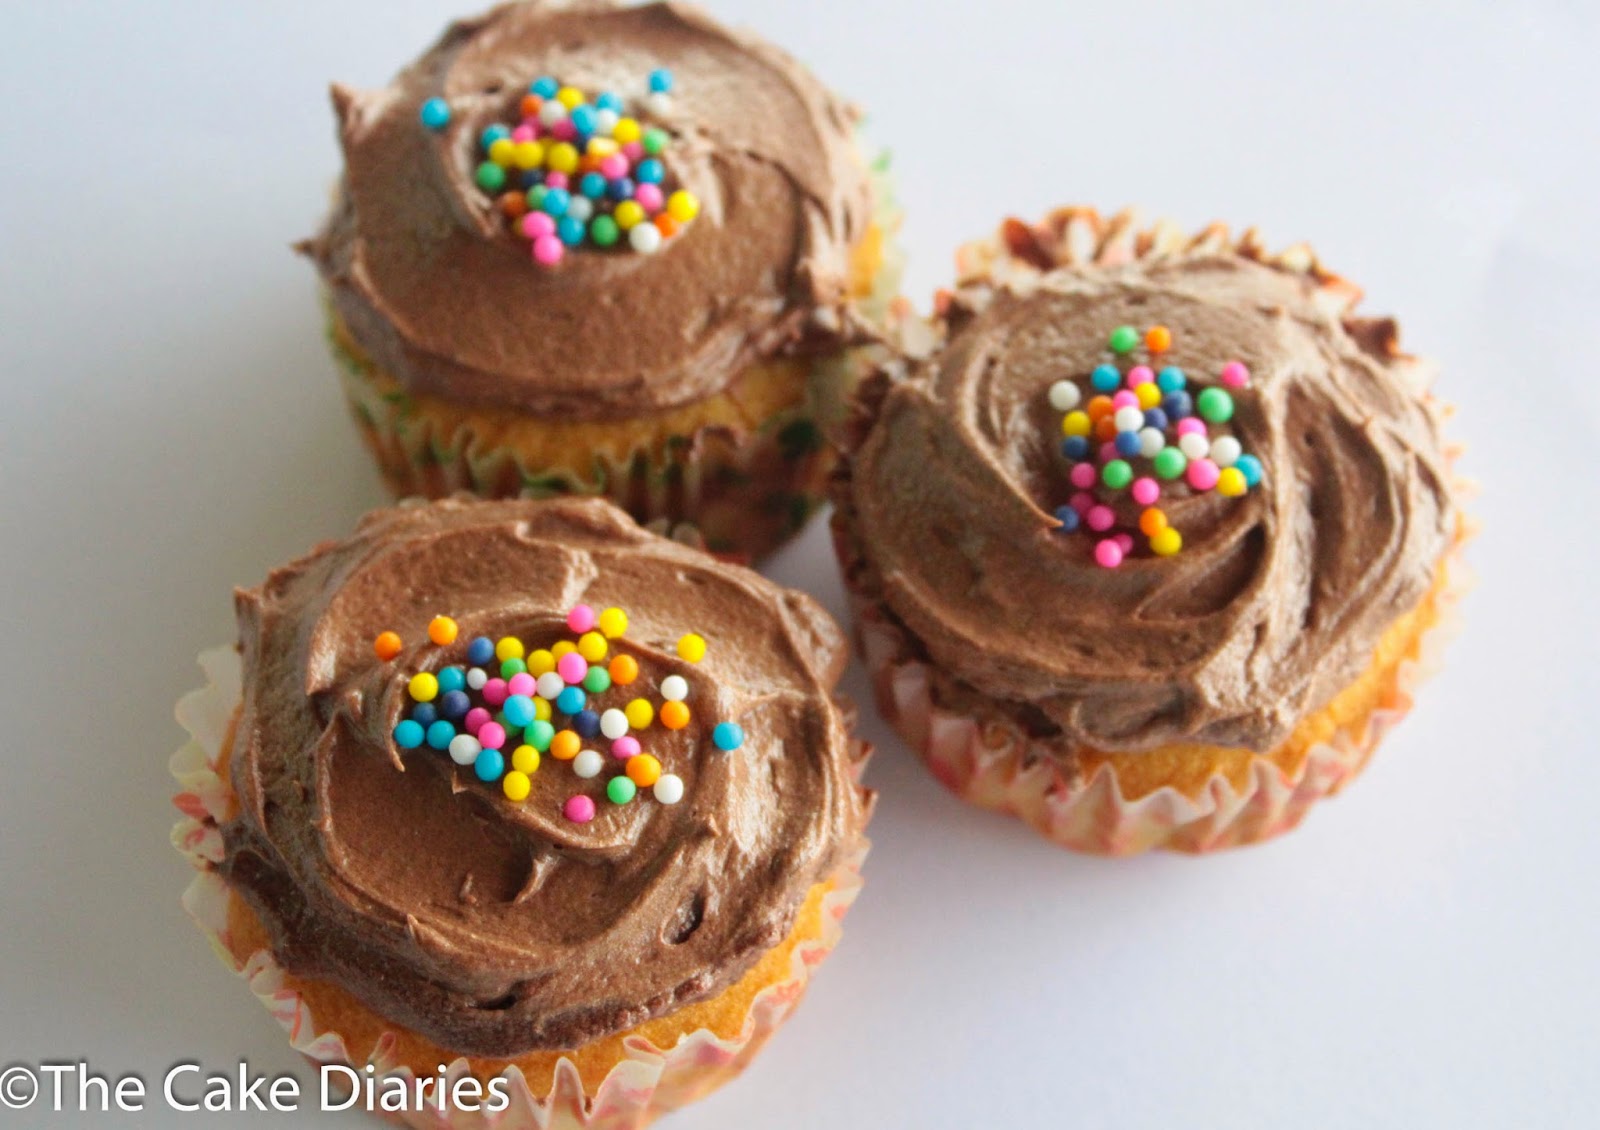
Here is another quick and easy way to frost the cupcakes. Just take a little frosting onto a small palette knife and swirl onto the cupcakes. (I often do this when I'm feeling too lazy to pipe.)
Top it off with a few sprinkles.Always sprinkles! Life would be dull without them :D
For this method you will only need half the amount of icing the recipe above makes.
But do this only if you want a little frosting. But trust me, once you taste this frosting you will keep wanting more and more.